by admin | Feb 13, 2019 | Design, Materials
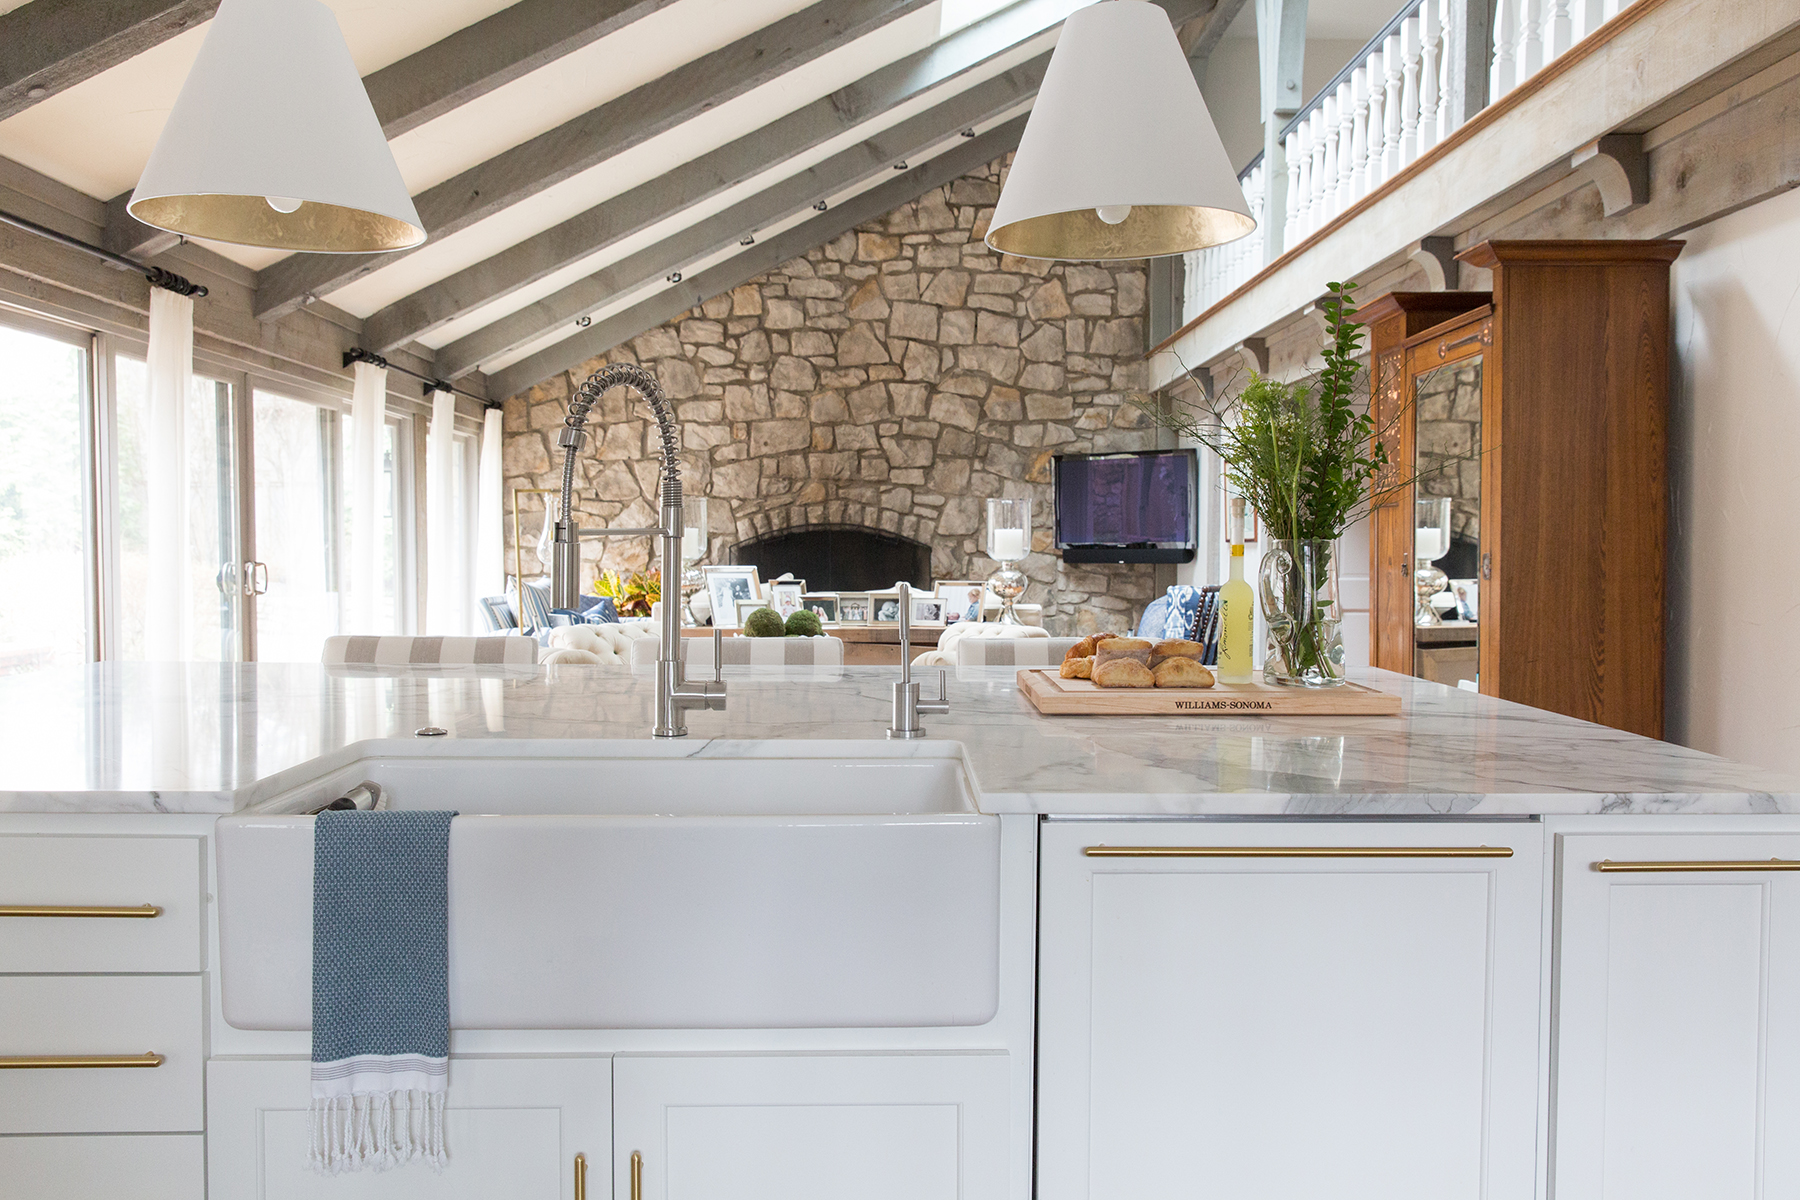
There’s an old rule that claims mixing metals in a space simply doesn’t work. It’s hard to go against the grain but two things: 1) some rules are just asking to be broken, 2) should we really be listening to advice from who knows when? Although we love a good...
by admin | Jan 17, 2019 | Design, Furnishings
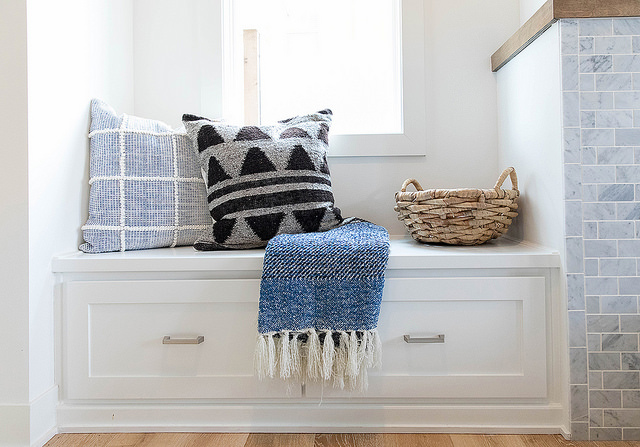
[drop_cap style=”color:#16436f;”]D[/drop_cap]on’t you just get invigorated after the New Year to get your home in order and looking fresh? You take all the festive Holiday decorations down and you feel as though you need a home refresh, or you will be down...
by admin | Jun 4, 2018 | Design, Press
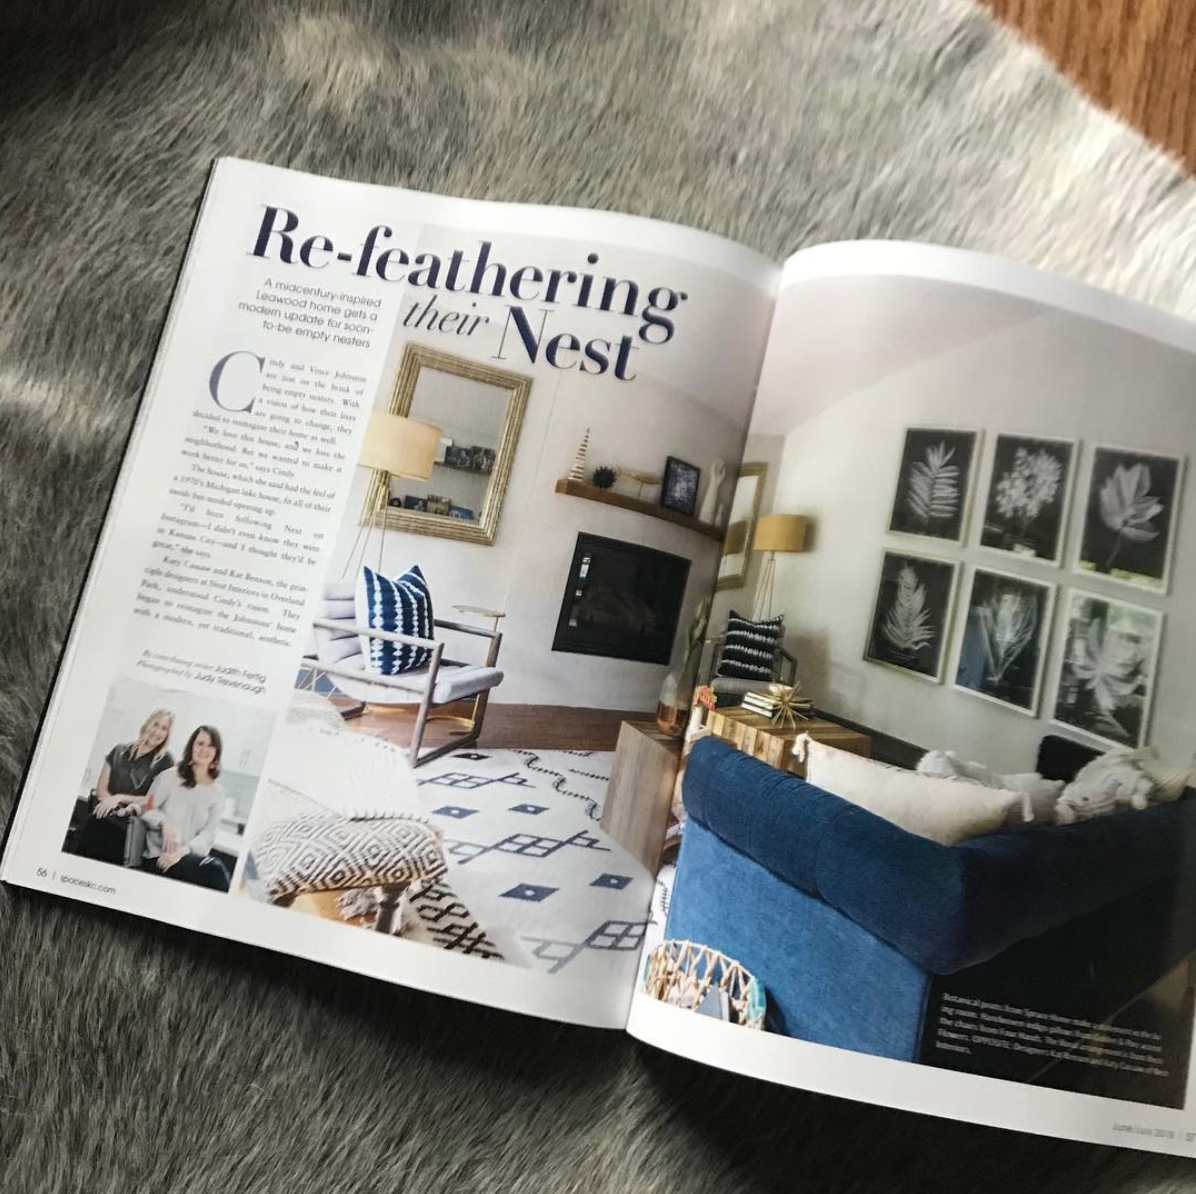
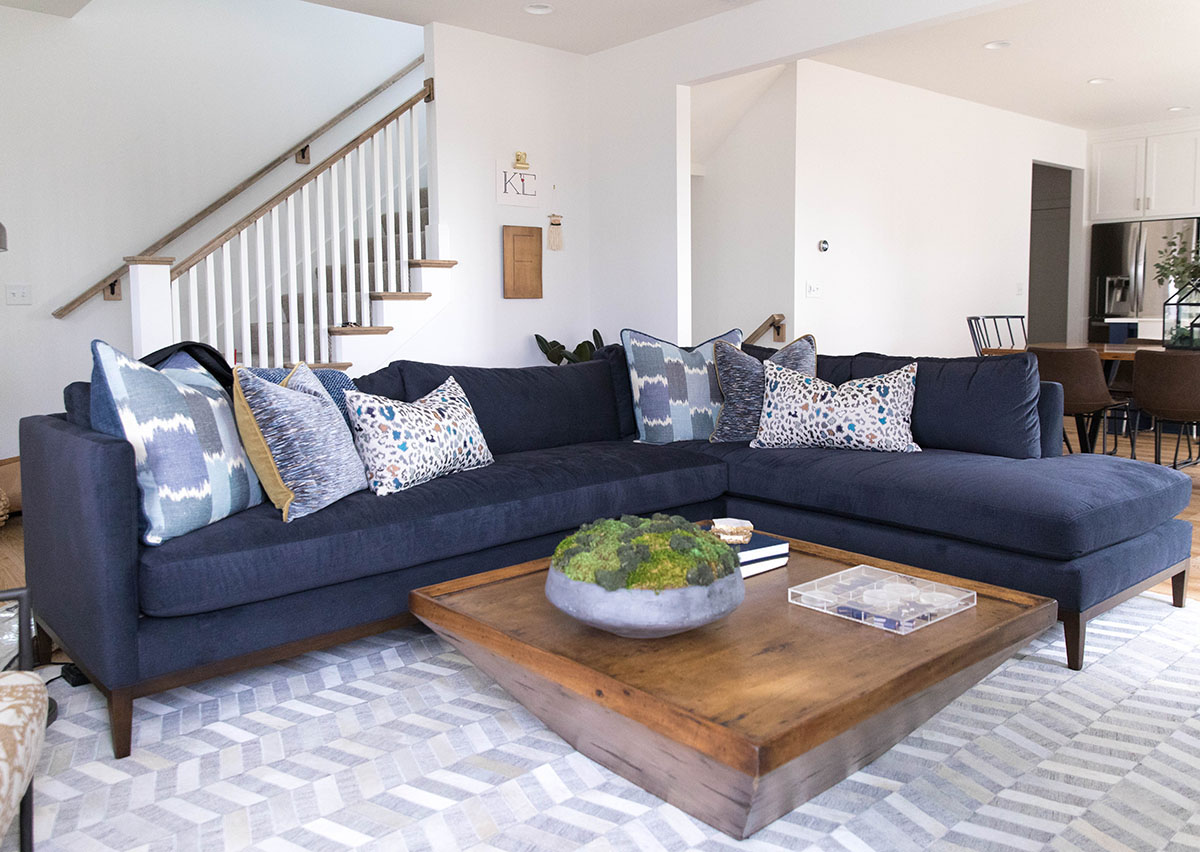
We are excited to be featured in the June/July issue of Kansas City Space. We were truly blessed to work with this couple to renovate their home and consider them our now lifelong friends! See the full project here Read the...
by admin | Mar 27, 2018 | Design, New Build
When we heard the words ‘new construction’ and ‘mid century modern’ we were intrigued. When we met the amazing people, relocating to KC from Chicago, that were wanting to make this dream happen, our intrigue became obsession. We had to get our hands on this! The...
by admin | Mar 6, 2018 | Uncategorized
Today we take you behind the scenes of the installation of our recent Shoal Creek Village project so you can see how an install unfolds and how spazzy we are until we get to the finish line. Check back next week to see the final results and our clients...
by admin | Feb 7, 2018 | Design
[drop_cap style=”color:#16436f;”]W[/drop_cap]e know we know! It’s been awhile. We have zero excuses except for well…life. Katy had her second baby and Kat has been cooking her first baby and babies all around just got in our way from getting down and...
by admin | Sep 29, 2017 | Uncategorized
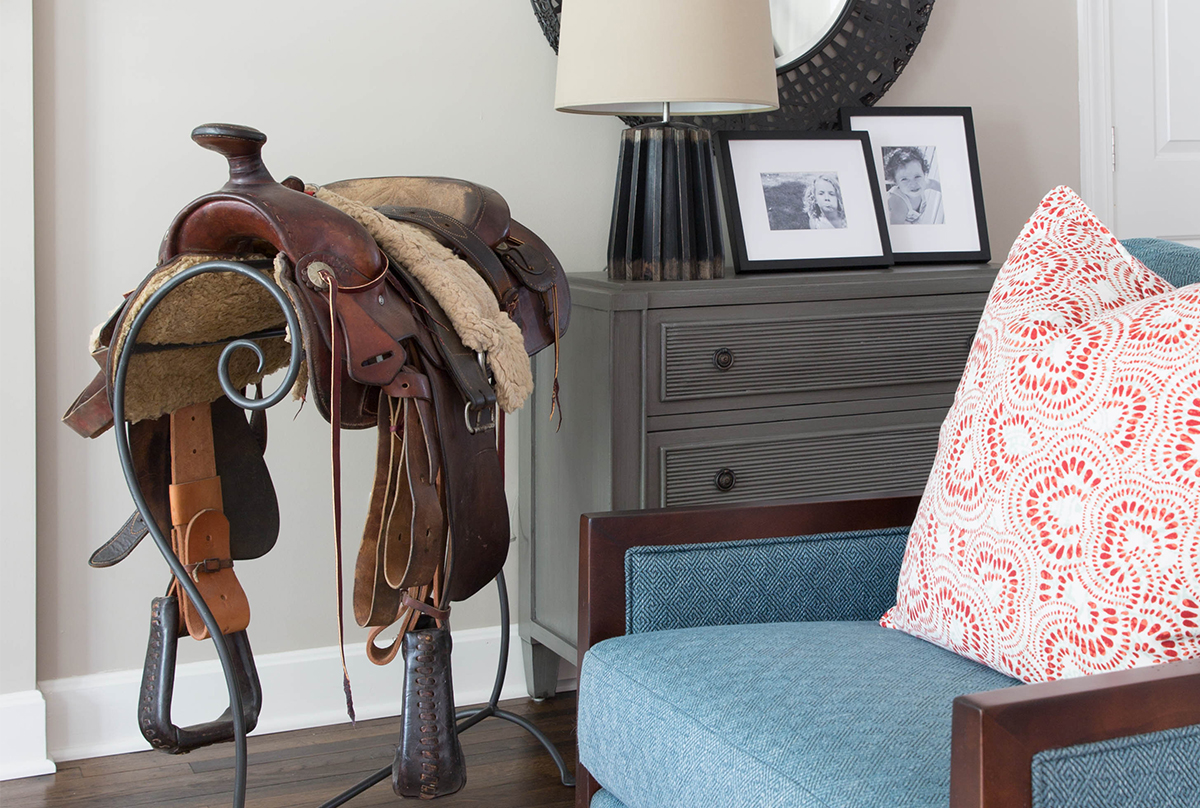
Let your home tell your story. We use this mantra when starting each and every one of our projects. Your home should represent you- what colors get your mojo going, what pieces you can’t live without, and what gives you the warm and fuzzy feeling when you walk into...
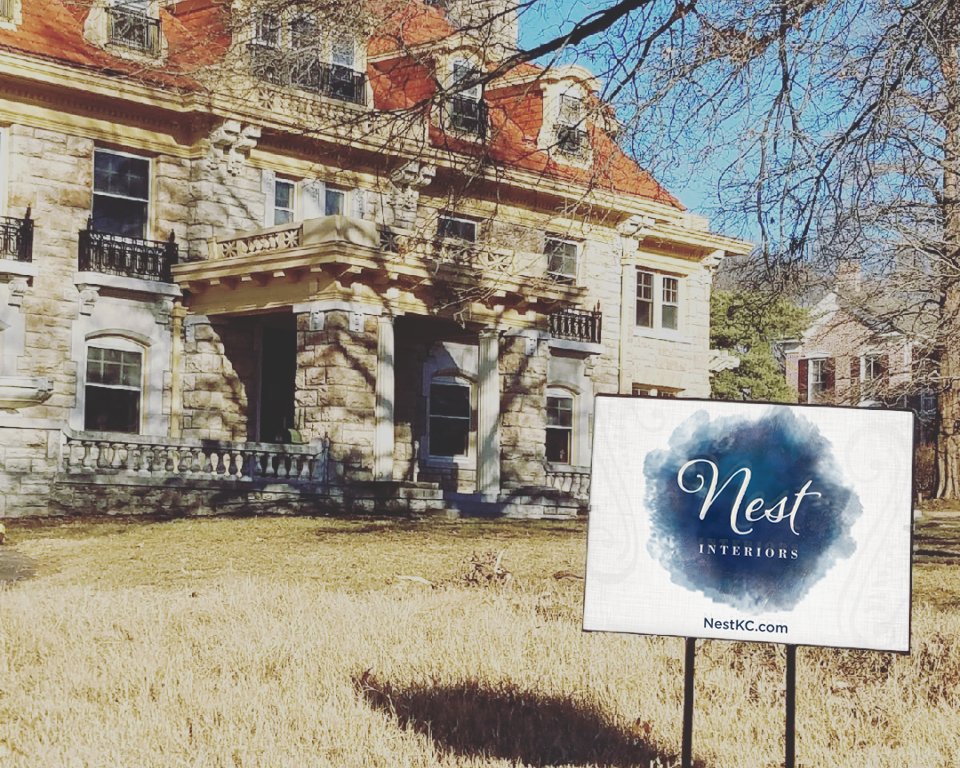
by admin | Aug 7, 2017 | Design, Studio, Uncategorized
Welcome Home to the Nest Blog Hi there! We decided to finally join the millennium and start a blog. Our hope is that this becomes a place you turn to for inspiration, guidance, and maybe even a few laughs as we navigate our way through this beautiful, crazy life...